Checking your bicycle cassette for wear is an important part of bicycle maintenance, as a worn cassette can negatively impact your bike's shifting performance and overall drivetrain efficiency.
Here's a step-by-step guide on how to check your bicycle cassette for wear.
Materials You'll Need:
- Chain Checker Tool: A chain wear indicator tool.
- Cassette Lockring Tool: If you need to remove the cassette for closer inspection.
- Ruler or Tape Measure: For measuring chain wear.
Step 1: Inspect the Chain for Wear
Before checking the cassette, assess the wear on your chain. Use a chain checker tool to measure chain wear. If your chain is excessively worn, it can accelerate cassette wear. Learn more about keeping your bike chain clean here.
Step 2: Cassette Wear Inspection Without Removal
-
Visual Inspection: Examine the teeth of the cassette visually. Worn teeth often have a hooked or shark fin appearance. Look for signs of wear or irregularities.
-
Run Your Fingers: Run your fingers over the cassette cogs. If you feel any sharp edges or notice significant wear, it might be time to replace the cassette.
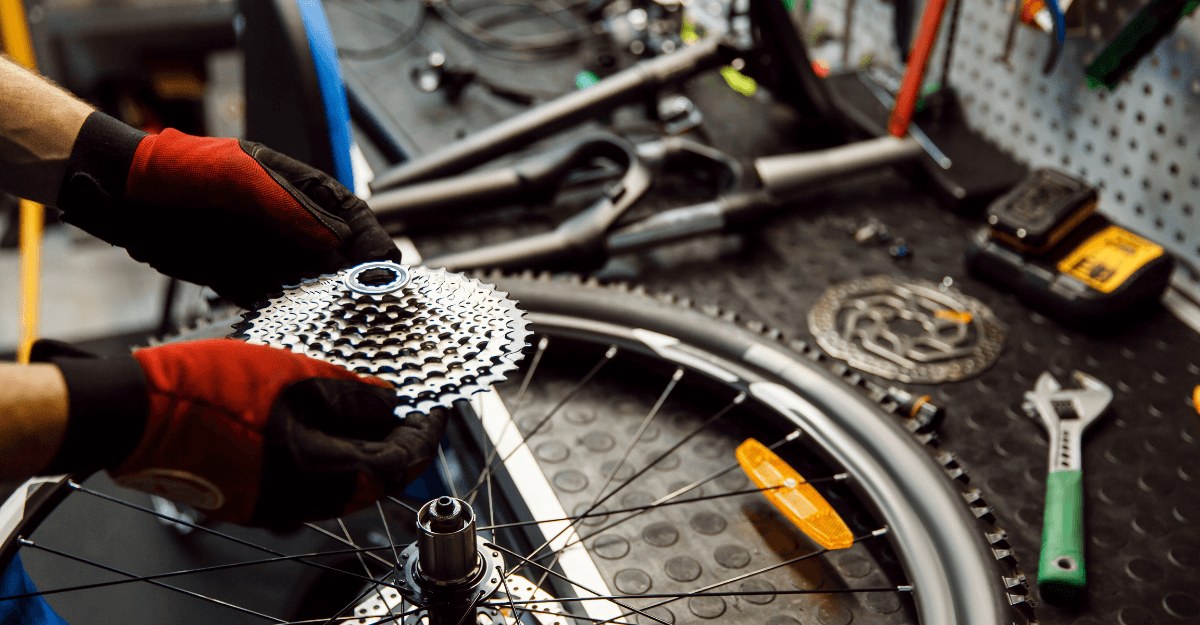
Step 3: Cassette Wear Inspection with Removal (Optional)
-
Remove the Wheel: If you have a quick-release skewer, open the lever and remove the wheel. If you have thru-axles, follow the appropriate steps to remove the wheel.
-
Remove the Quick-Release Skewer or Thru-Axle: For quick-release skewers, use a 5mm Allen key to remove the skewer. For thru-axles, use the appropriate tool.
-
Use Cassette Lockring Tool: Insert the cassette lockring tool into the lockring on the cassette. Use an adjustable wrench or a specific cassette tool to turn the lockring counter-clockwise and remove it.
-
Inspect Each Cog: Take the cassette off and inspect each cog for wear. Look for signs of uneven wear, especially on the teeth. Worn teeth will have a visibly different shape.
Step 4: Measure the Distance Between Cogs
If you have a ruler or tape measure, measure the distance between each cog's teeth. In a new cassette, these distances are consistent. If you notice a significant increase in the gaps between some teeth, it may indicate wear.
Step 5: Replace if Necessary
If the cassette teeth show signs of wear, it's advisable to replace it. Regularly replacing your chain before it becomes excessively worn can help extend the life of your cassette.
Some extra tips from Cycletribe team:
- Regular Maintenance: Check your chain regularly for wear, and replace it before it becomes excessively elongated.
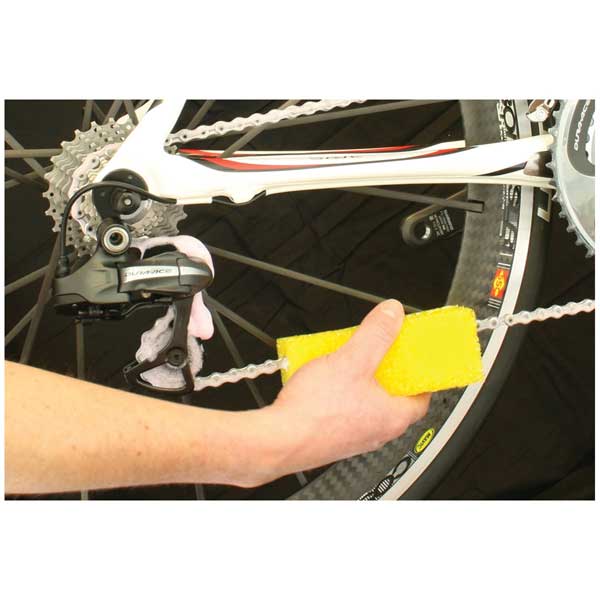
- Keep It Clean: Regularly clean and lubricate your chain and cassette to reduce wear and maintain smooth shifting.
By following these steps, you can effectively assess the wear on your bicycle cassette and take timely action to ensure a smooth and efficient riding experience.
Browse through our collection of bike repair articles to empower yourself with essential maintenance tips and take charge of your bike's performance.